
14,95 €
Pack contents: 15 long and 30 short IN IINE stripes + assembly instruction

incl. shipping within Europe
- 15 long IN IINE stripes for irons
- 30 short IN IINE stripes for irons and hybrids
- Detailed assembly instruction
Installation:
Please ensure that the club head is free from dirt and oil. Your hands should be dry, dirt and oil free before assembling.
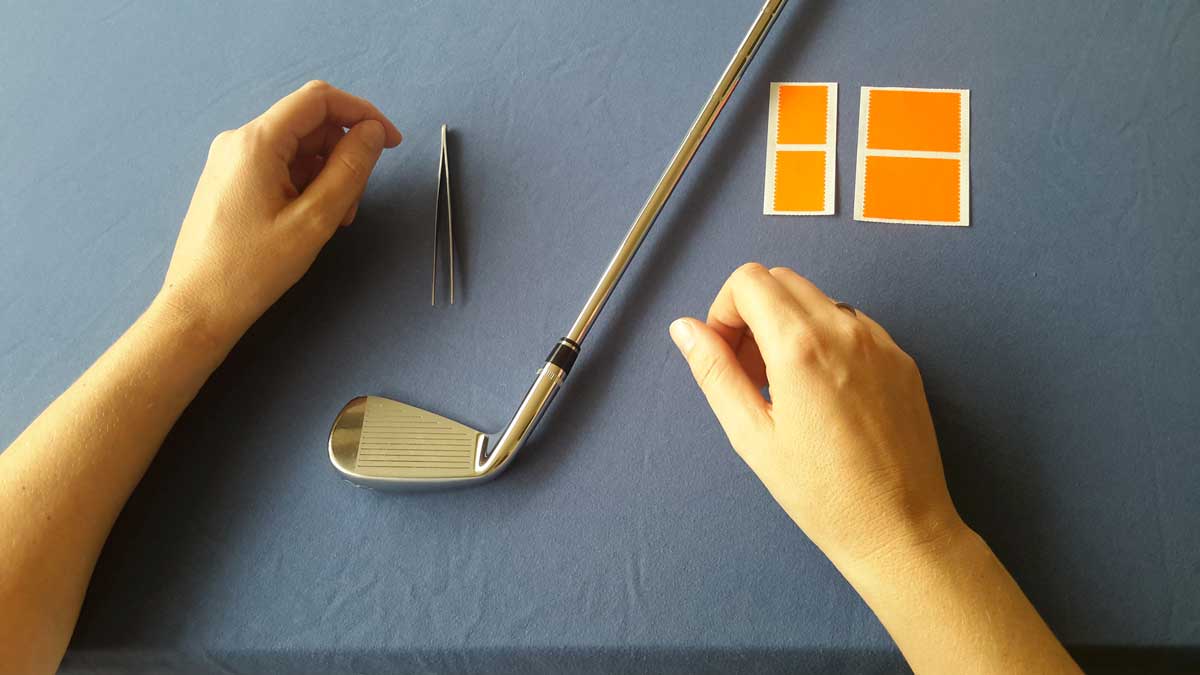
1. Put the club on a horizontal surface (table) such that the sole of the club head points to you. |
 |
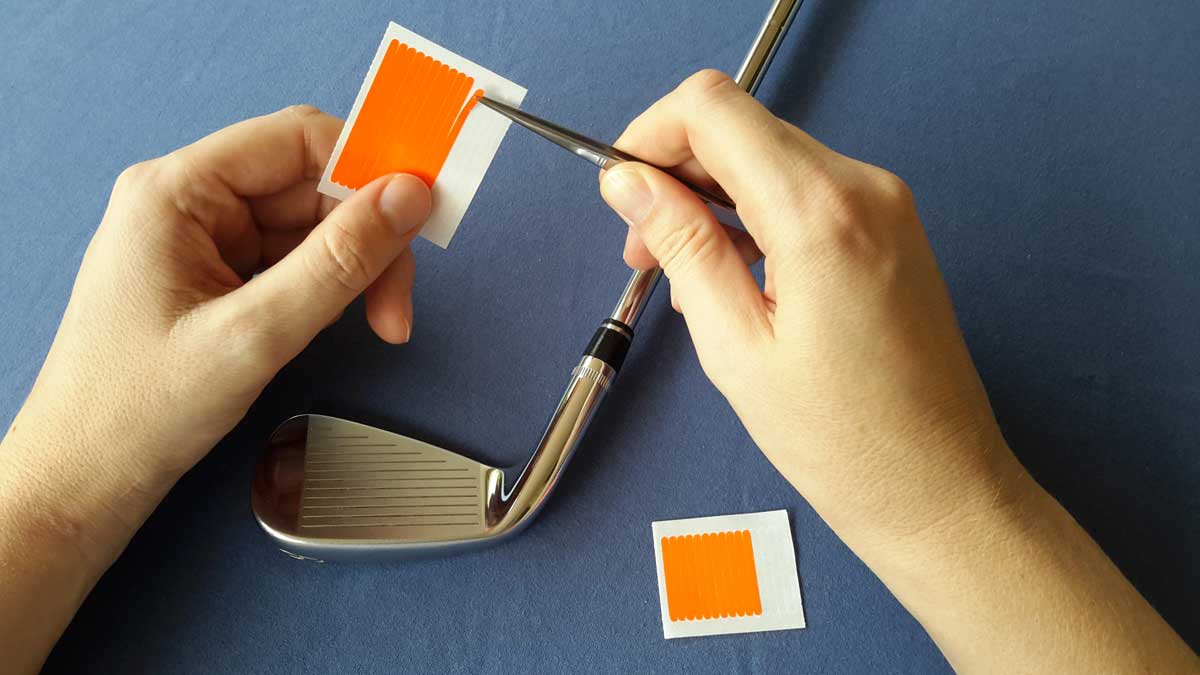
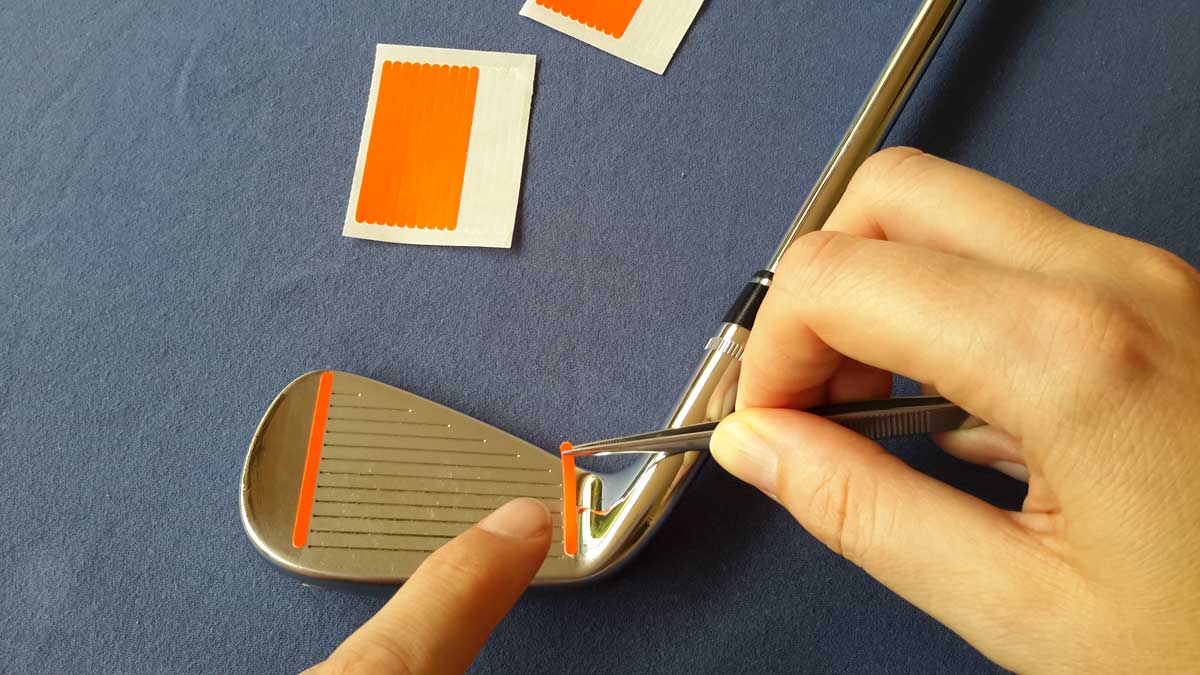
2. Use a pincer to pull out one of the long IN IINE stripes by pulling it from top and slowly sliding to the bottom. |
 |
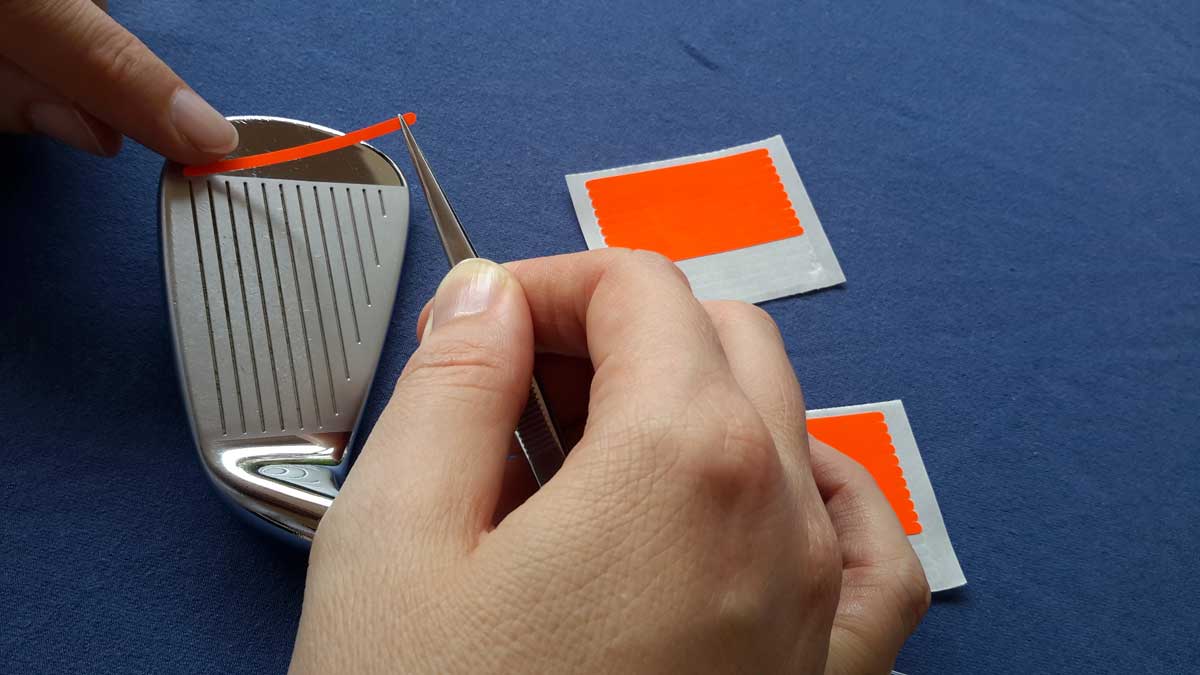
3. Stick a small portion of the lose end of IN IINE carefully on the club head, exactly next to the outer edge of the lowest groove. This is important because it enables to make small adjustments before the final step. On the wedges stick a small portion of the lose end of IN IINE carefully on the club head, exactly next to the inner edge of the second groove from bottom. This is to avoid IN IINE sticker coming out as wedges go deep into the ground or sand.
|
 |
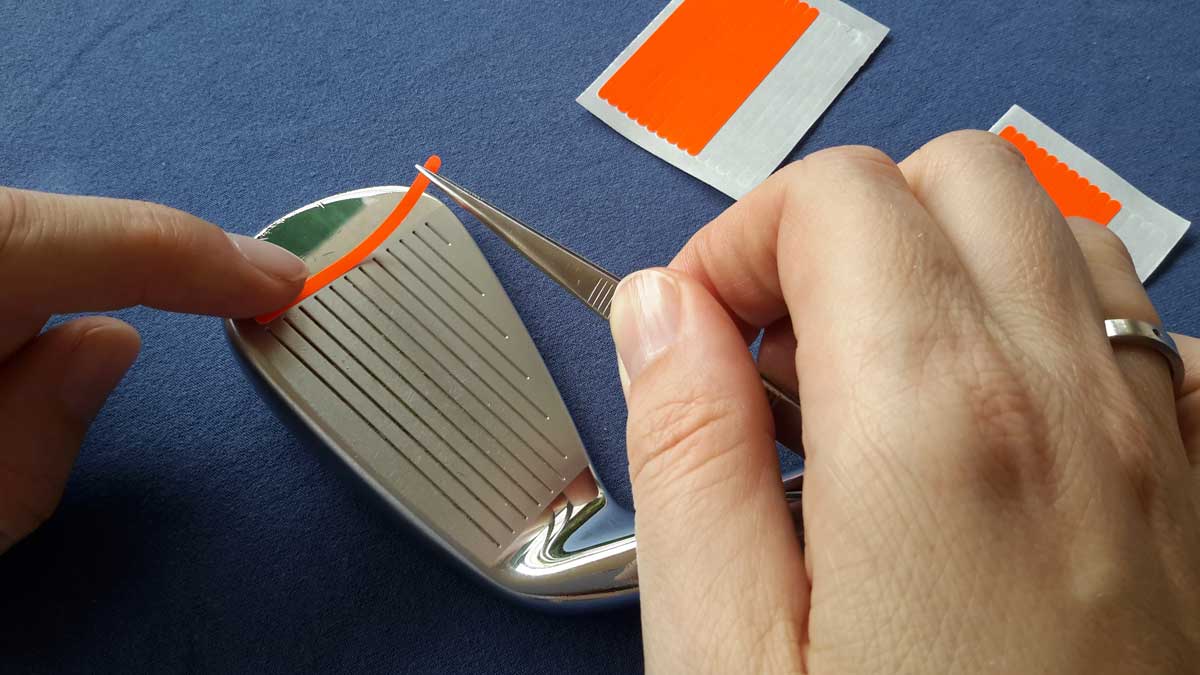
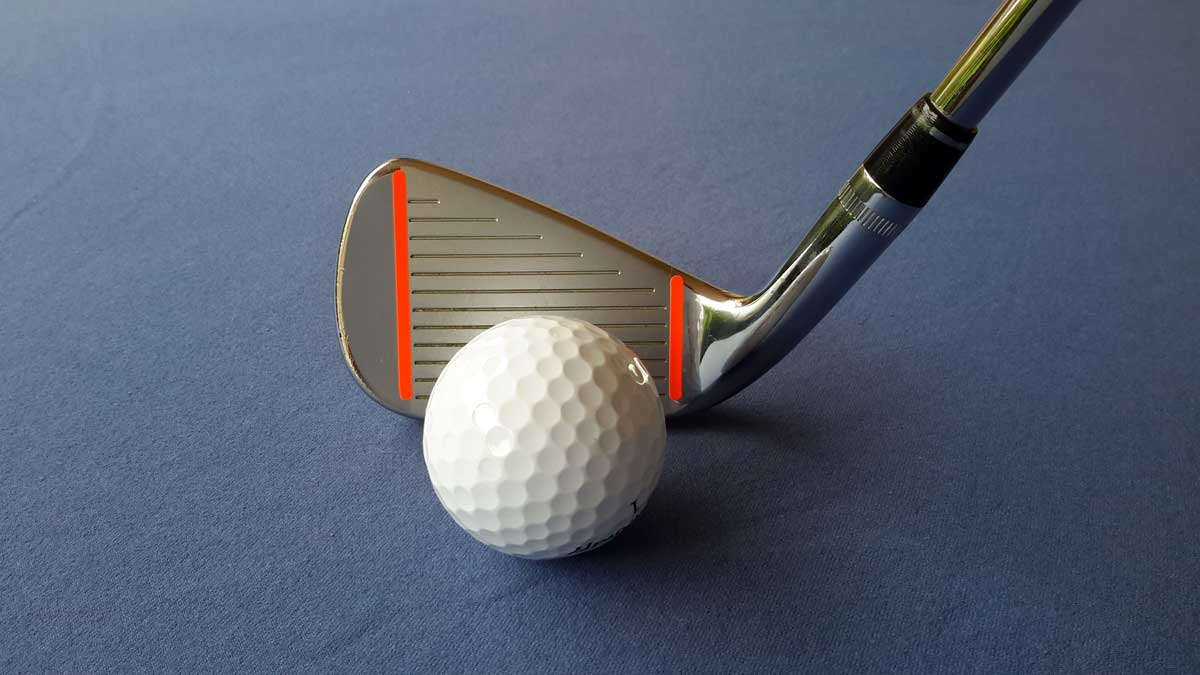
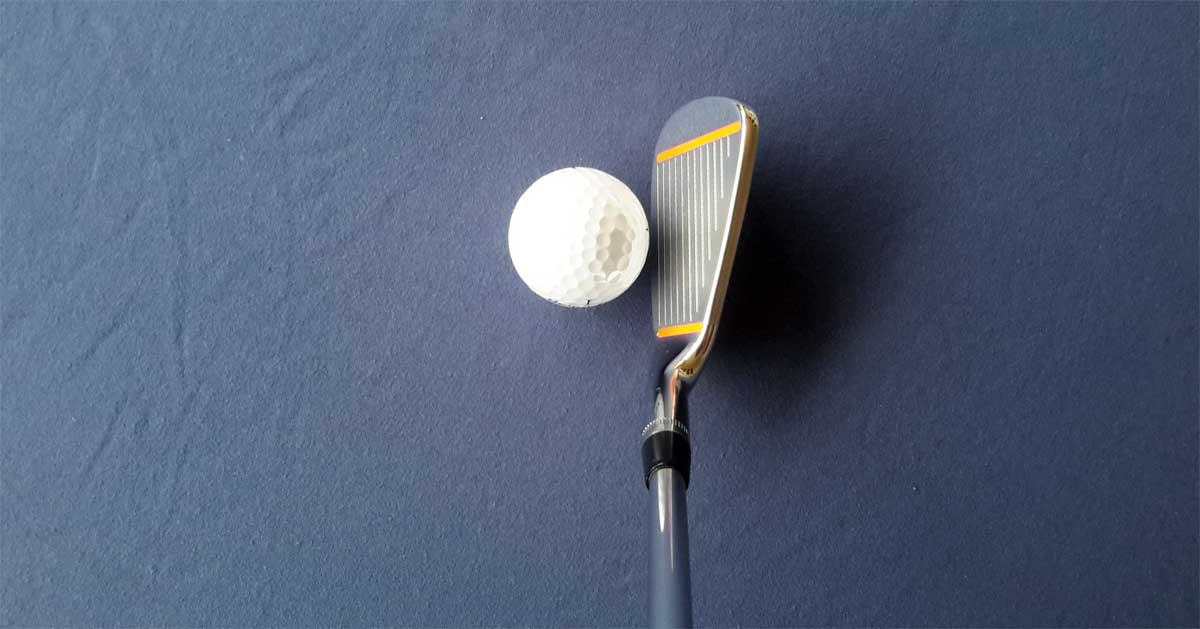
4. After making minor adjustments, if there is any, now slowly apply pressure with one finger on the IN IINE stripe such that it sticks to the club head. The finger movement while applying pressure on the stripe should be from bottom to top. Please remember that the stripe on the club head should be adjacent to the grooves. Touching the grooves (impact area) would mean to breach the
Rules of Golf (Appendix II). |
 |
5. Follow the same procedure to stick one of the short On the wedges stick a small portion of the lose end of IN IINE carefully on the club head, exactly next to the inner edge of the second groove from bottom. This is to avoid IN IINE sticker coming out as wedges go deep into the ground or sand. |
 |
 |
 |
|
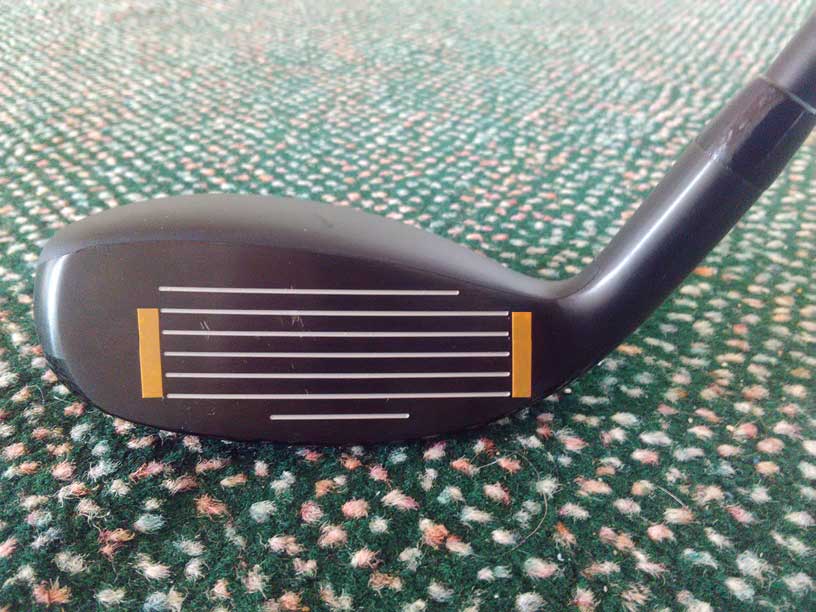
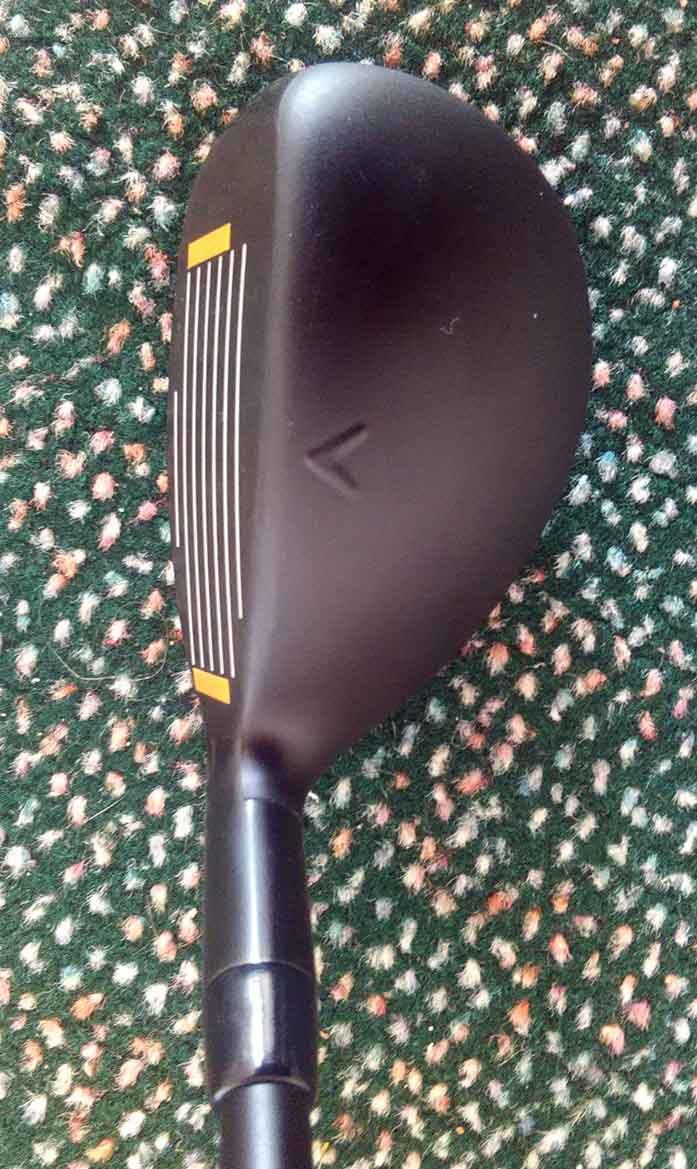
6. Only for the hybrid club heads as shown in the picture. Follow the same procedures to stick one of the short sized IN IINE stripes for the hybrid club heads. |
 |
 |
14,95 €
Pack contents: 15 long and 30 short IN IINE stripes + assembly instruction

incl. shipping within Europe